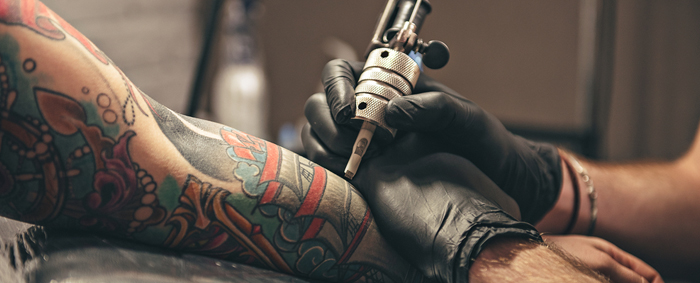
Tattoo Stencil Application: How to Transfer Designs Cleanly Every Time
Every great tattoo starts before the needle ever touches skin — with a stencil. Get the stencil right and the whole session flows; get it wrong and you’re fighting a smudged, shifting, or crooked outline for hours. A clean, crisp, well-placed stencil is one of the most underrated skills in tattooing, and it’s entirely within your control.
This guide walks through the full process: preparing the skin, applying the transfer, nailing placement, and making sure it survives the entire session.
Why the Stencil Matters So Much
The stencil is your roadmap. It guides your linework, locks in proportions, and ensures the client sees and approves the placement before any permanent marks are made. A stencil that smudges or rubs off mid-session forces you to work from memory — a recipe for inconsistency. Investing a few extra minutes in stencil application saves hours of frustration.
Step 1: Prepare the Skin
Clean, smooth, properly prepped skin is the difference between a stencil that grips and one that slides.
- Clean the area thoroughly to remove oils, lotions, and debris.
- Shave the area even if hair seems minimal — invisible fine hairs prevent good transfer and interfere with tattooing.
- Dry completely before applying anything; moisture ruins transfer.
Step 2: Apply Transfer Solution
Transfer solution (stencil gel or spray) helps the design adhere to the skin and stay put. Apply a thin, even layer over the clean, dry area, then let it become tacky — not wet — before laying down the stencil. Too much solution causes smudging; too little causes a faint, incomplete transfer. The tacky window is the sweet spot.
Step 3: Position and Press
Placement is permanent, so take your time here.
- Align carefully with the body’s natural contours and the client’s wishes.
- Lay the stencil down smoothly from one edge to avoid air bubbles and wrinkles.
- Press evenly across the whole design without sliding it.
- Hold for the recommended time, then peel slowly and evenly.
Step 4: Check Placement With the Client
Before anything else, have the client look in a mirror and approve the placement, size, and angle. This is a critical consultation moment — adjusting now is free, but adjusting after lining is impossible. Good communication here prevents the most painful kind of regret. Our guide on running a great consultation (publishing in this series) explores this further.
Step 5: Let It Set and Protect It
Allow the stencil to dry fully before starting — a rushed, damp stencil smudges the moment you wipe it. During the session, use products that won’t dissolve the stencil prematurely, and wipe gently in a way that preserves your guidelines.
Troubleshooting Common Stencil Problems
| Problem | Cause | Fix |
|---|---|---|
| Faint transfer | Too little solution, skin not prepped | Clean, shave, reapply evenly |
| Smudged stencil | Too much solution, applied wet | Wait for tacky window |
| Bubbled/wrinkled | Laid down unevenly | Apply smoothly from one edge |
| Rubs off mid-session | Not dried, harsh wiping | Let set fully, wipe gently |
Placement and Body Contours
Skin isn’t a flat sheet of paper. The body curves, and a stencil that looks perfect flat can distort over a contour. Account for how the design will sit when the limb or body is in a natural position, and how it flows with the underlying muscle and bone. Thoughtful placement is part artistry, part anatomy.
Frequently Asked Questions
Do I really need to shave a smooth-looking area? Yes — even invisible fine hairs disrupt transfer and interfere with clean linework.
Why does my stencil smudge as soon as I start? It was likely applied too wet or not given time to set. Wait for the tacky stage and let it dry fully.
How do I stop the stencil rubbing off during a long session? Ensure proper application and drying, and use gentle wiping with products that don’t dissolve it.
Can I reposition a stencil after applying it? Not cleanly — it’s best to get placement right the first time. Re-clean and reapply if needed.
Final Thoughts
A flawless stencil sets up a flawless session. Prep the skin properly, apply transfer solution to the tacky stage, place with care, confirm with your client, and protect the stencil throughout. Master this quiet, essential step and you’ll spend the rest of the session focused on the art — not fighting a vanishing outline.


Add comment